Showing posts with label engine mounts. Show all posts
Monday, October 24, 2011
D54:Engine Install + Pedal Assembly
I've finally moved the frame off the build table and onto jack stands for the rest of assembly. Below you can see the engine is back in with the modified engine and transmission mounts.
The parts are finally coming out of boxes and below is the pedal assembly. I'm hoping this is one of the next things to get installed. Depending on how high I can mount the pedals, I may not need to shorten them at all, but that is yet to be determined. I also need to figure out if the brakes will be too "strong" since they were designed for a car that weighed almost 3 times what this one will. Again... TBD.
Thursday, August 25, 2011
D41: PT2 - Engine Fit 5
With the transmission mount built, I wanted to make sure it actually worked. So I found myself lugging the frame out of the garage and mounting the engine in it one more time. It's amazing how much more the frame weighs now than it did the first time around. One of these days I'll get a weight on the frame.
This is also the first time mounting the engine since fixing the engine mounts to the frame, so it was a good test for the positioning of those as well. You can see the final setup in the second pic.
With little else to check with the engine mounted I decided to play around with the shifter a bit. I've been a little worried that it wouldn't reach far enough back or would be too low or too high or some other issue that I hadn't yet thought of. To my surprise, it works great. The red piece is the shifter mount from the donor that I'm going to work into the new body panels. This way all the mounts, holes, etc are already there and all I have to do is weld it in.
Saturday, July 16, 2011
D38:Engine Mount Install
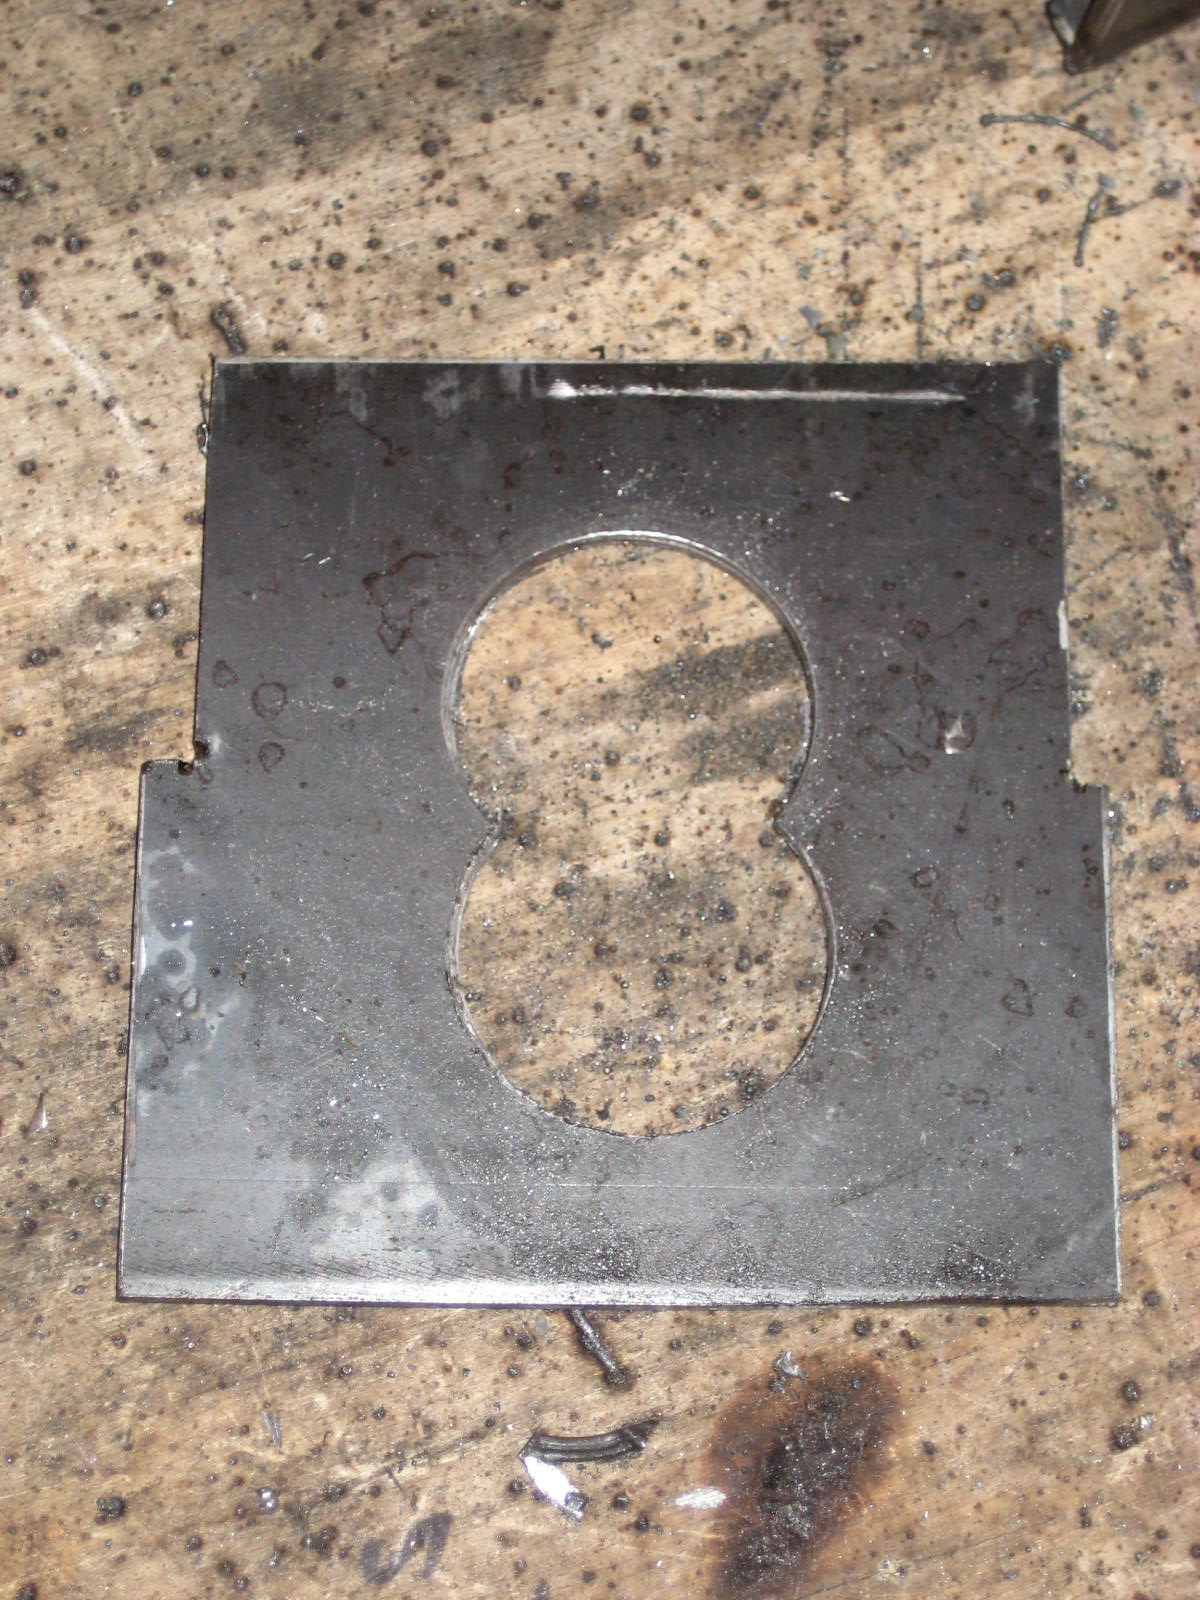
The engine mounts are now tacked in. I used all the measurements from the last engine fit to get them positioned correctly. I'll probably do one last fit before fully welding them in place. I also cut the top of the transmission tunnel because the new engine height causes the transmission to bump that top crossbar. I plan on removing the mod to the lower crossbar and bringing it up a couple of inches since I don't need it to be that low any more. I also need to trim the engine mount plates to fit the frame.
Tuesday, June 28, 2011
D36:Engine Mount Mods D4
Here are the finished (except for paint) mounts. I've also included some step by step photos of the ends I cut to finish these off. Just a whole saw and a hand held grinder to cut the points off.
Friday, June 3, 2011
D35:Engine Mount Mods D3
With my concerns about the strength of these mounts, I've decided to add some additional supports. I've closed in the front and back of the mount. These additional supports should keep the mount from folding over under loading. The pics I've posted are the second attempt... the first attempt was so UGLY I don't even want to post pics. So far one down, one to go, then it's on to transmission mounts.
Thursday, June 2, 2011
D34:Engine Mount Mods D2
Another day working on the engine mounts. I've got all the extensions done and one mount fully welded. I'm a little worried with the extra height that they might fold over when loaded. I'm thinking making the back solid will solve this. With the hole in the mount plate, it should still be easy to access the bolt for the engine mount.
Tuesday, May 31, 2011
D33:Engine Mount Mods D1
With the rear end being moved up a few inches, I needed to raise the engine up as well. This should keep the engine and the rear end in better alignment. The holes are there to weld the middle of the add on plates to the original mount. This way it's not only welded around the edges but in the middle as well. Again... hopefully a little over design.
Sunday, April 17, 2011
D26:Engine Fit 3
This afternoon I finally got around to fitting the engine one more time. With all the changes to the front end, I wanted to be sure that the engine still fit and more importantly, that I could get it into the frame. I was worried about all the crossbars I put in for the front uprights. As you can see, there is still plenty of space. So, next step is gong to be getting the front suspension built. I'm also playing around with the idea of modifying the engine mounts to raise the engine up an inch or two. I'm a bit worried about the ground clearance with this new design.
Sunday, February 27, 2011
D7: Engine Mounts

This weekend was spent working on engine mounts. For everyone that looked at the engine mount design and asked "what am I looking at?", I've added a few more pictures after the jump. They can be seen "mocked up" in the current status pic. Just keep in mind the frame is upside down at the moment and they will actually be flipped over for installation. I've built these to use the stock engine mounts and position the bottom of the oil pan at the same level as the front sub frame. I've also got the inside pieces cut and tacked from the sub frame to the transmission tunnel. Engine fitting #2, here we come.
Thursday, February 24, 2011
D6: Engine Fitting, Engine Mount Design

I know, I know... with a title of "Engine Fitting", you'd expect a slightly more exciting photo. I didn't even think about it until the frame was back on the table. So, all you get is the current state and the modified transmission tunnel opening. With the frame as is, the bell housing sits on that crossbar. So, I've lowered the center section by 2in to eliminate this and allow the engine to sit horizontal. Otherwise, it looks like everything is going fit great with plenty of space to work with. I've also included a drawing of the engine mount. On a side note, when moving large objects (like a frame) around your garage... watch out for light bulbs. They are very fragile and tend to explode on contact.
Subscribe to:
Posts (Atom)