Showing posts with label uprights. Show all posts

Wednesday, December 21, 2011

D65:Spindle Mods and Ball Joint Fitting

I have a week off after Christmas, so I've been trying to order everything I need to get the front end suspension finished (minus the shocks). I now have ball joints, sleeves and the fixings for lower and upper a-arms. I also ordered up a tapered reamer to finish the spindle adapters that I built and modify the stock lower ball joint hole to accept a more common Mustang II ball joint.

First up were the adapters. I had already drilled a 1/2" hole to start, but with no existing taper it took a little more time to get a taper and then expand it large enough to accept the ball joints. I was a little worried about buying the cheapest taper I could find but it cut through the top plate without any issues.

The next step was expanding the lower ball joint hole in the factory spindles. I'm not proud of this setup, but it held on both spindles. These went much quicker than the adapter as they were pretty close to start with.
One tip when enlarging the tapered hole is use the drill press to get the fit close. Once it's close, use the reamer by hand. If your drill press is like mine... cheap, then it'll wobble a little which you'll be able to feel by moving the ball joint around. A few turns of the reamer by hand removed that little wobble for me.

Here's the finished product. The adapter is on the spindle, ball joints in both the upper and lower mounts, and the whole assembly inside a wheel to make sure it fits.

Saturday, May 21, 2011

D32:Spindle Adapter #2


I was finally home for a weekend this month and got some time in the garage. I was able to fabricate some side supports for the ball joint mounting plate to the vertical bar. I'm sure this is now WAY over designed but figure that's the safer side to be on. I was also able to fab the second adapter as well. With these done, it's time to get some a-arms built and I'll be getting oh so close to having a rolling chassis.

Monday, April 25, 2011

D31:Spindle Adapter D5


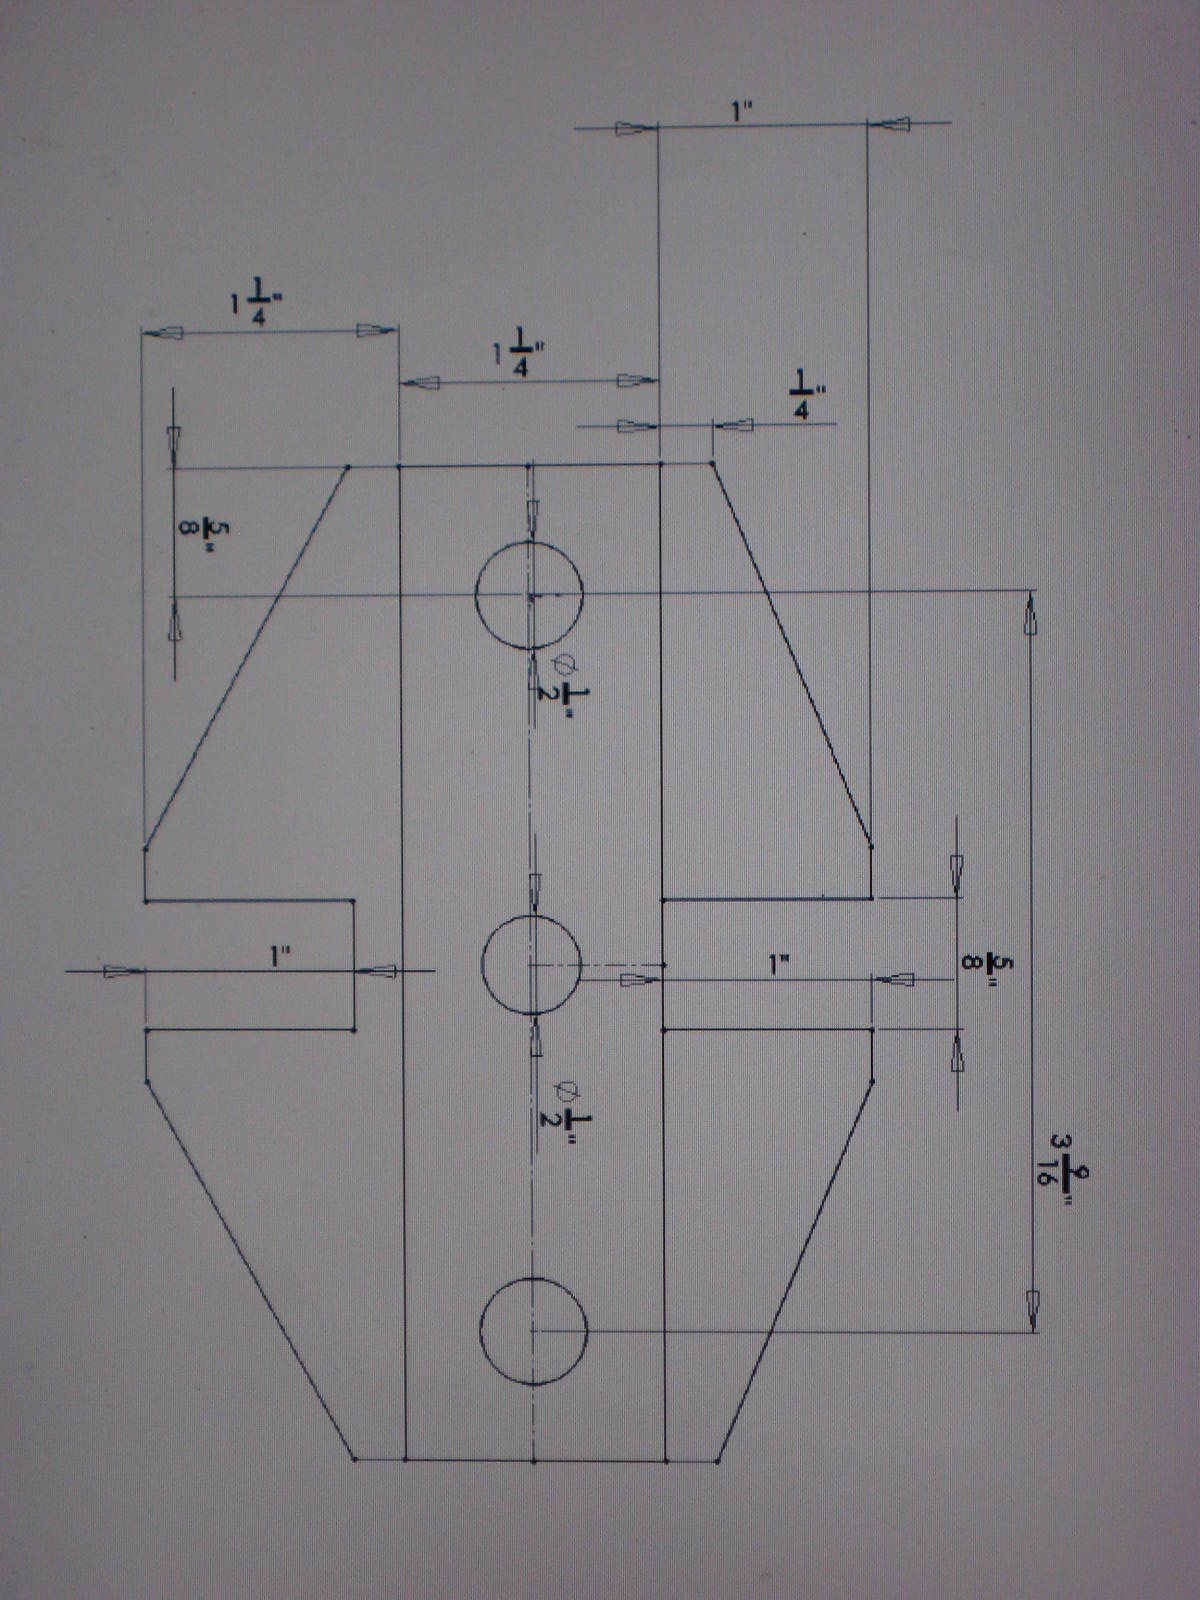
Today, I decided to stop trying to re-invent the wheel. Why am I trying to bend 1/8" plate when someone has already done this? I picked up a piece of 1 1/2" square 1/8" tube to use for the lower bracket. With this, I could just cut the tube to the shape I needed and not have to worry about the bends. I think the final result looks much cleaner than the original attempt. I also picked up a piece of 1/2" x 3/4" rod to replace the pieces of 3/4" plate I had cut. It's much easier to just cut this new rod to length instead of trying to cut off pieces of that plate. I've also got photos of the upper mounts pictured. My only concern now is that my welder only handles a max of about 3/16" - 1/4" max penetration. I'm not that confident that it's enough (with my skills) to hold the upper ball joint mount to the rest of the adapter. So, I'm planning on adding some additional supports from the vertical bar to the top mount. I'll post a pic when it's done to show what I'm actually doing here. But... 1 down, 1 more to go, then it's a-arm time.

Sunday, April 24, 2011

D30:Spindle Adapter D4


Started working on the first lower bracket for the spindle adapters today. The first part was easy... design, print, trace, cut, drill. The last part, fold, was not so easy. I can't seem to find a decent way to bend sides up and keep the part with the holes flat. It's 1/8" plate that is actually a little thicker than the stock mounts. Might need to do some googling before trying it again.

Saturday, April 23, 2011

D29:Spindle Adapter D3


A little more time spent cutting pieces of that 3/4" steel plate. I'm really starting to hate this thing. I've also put together a jig to help assemble these adapters. Next up is building the brackets to attach the bars that I've cut to the spindle.

Friday, April 22, 2011

D28:Spindle Adapter D2


Today I started working on the new upper a-arm mount. I'm planning on fabricating an adapter that bolts to the spindles that I can bolt an upper ball joint to. I picked up a new 'milling' vice for my drill press along with a 1/2" end mill. I figured this would be helpful for this project. I also picked up a piece of scrap 3/4" steel plate to cut all the necessary pieces. This is the same thickness as most of the mounts on the original spindle.

I learned a few things today. I do not have the best tools to cut 3/4" steel plate. Drop saw doesn't work. Sawzall doesn't work. Hacksaw works, but is WAY TOO SLOW (and too much work). So... it was about 15mins per cut with a cutting wheel on a grinder. Not the prettiest cuts... but it worked. I burned through a 4 1/2" disc PER 7" cut. I used the end mill to try to clean up the cut edge. Turns out an end mill in a drill press doesn't work that great. The table is not sturdy enough. So, lots of learning experiences today... but making progress.

Tuesday, April 19, 2011

D27:Upright Mods D1


I'm still working on the details of how to convert the front spindles from being strut type to dual a-arm. Here's the beginning of the McSorley approach. I don't think I'm going to use this exact same method as I want better access to the castle nut with the upper ball joint installed. Also, one of my struts is badly bent and a new (used) strut will likely cost me more than something scratch built. This does give me a good start to a template for building whatever solution I do come up with tho. One note on this process... the warning on the struts, "DO NOT OPEN, GAS PRESSURE" really means, "If you drill a small hole in the side, hydrolic fluid will spay all over your garage, floor to ceiling." You can see it on the floor in the daily status photo.

Print